
Last updated September 10, 2026
Full 25-point door and opener safety check with every visit - springs, cables, rollers, tracks, and your LiftMaster or Chamberlain opener included
You get a price before we start. It does not change when the truck arrives.
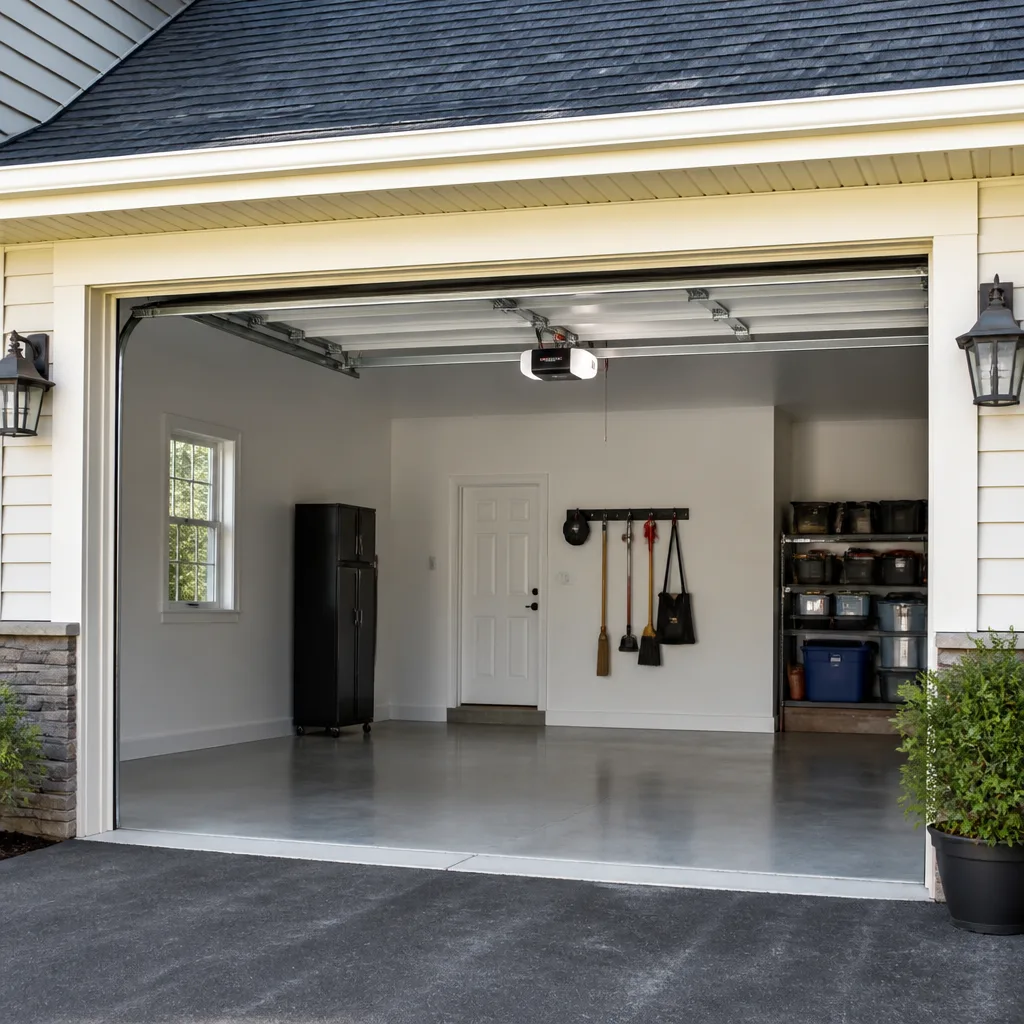
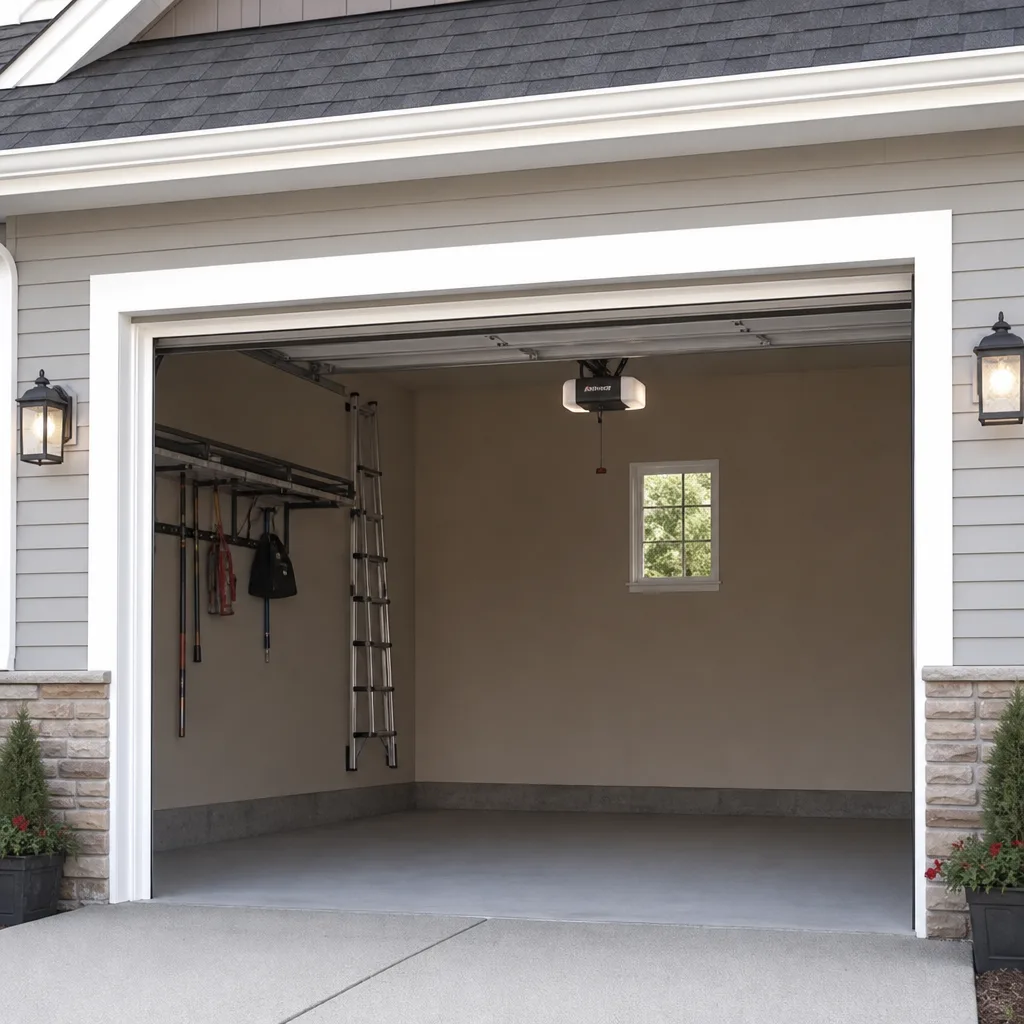
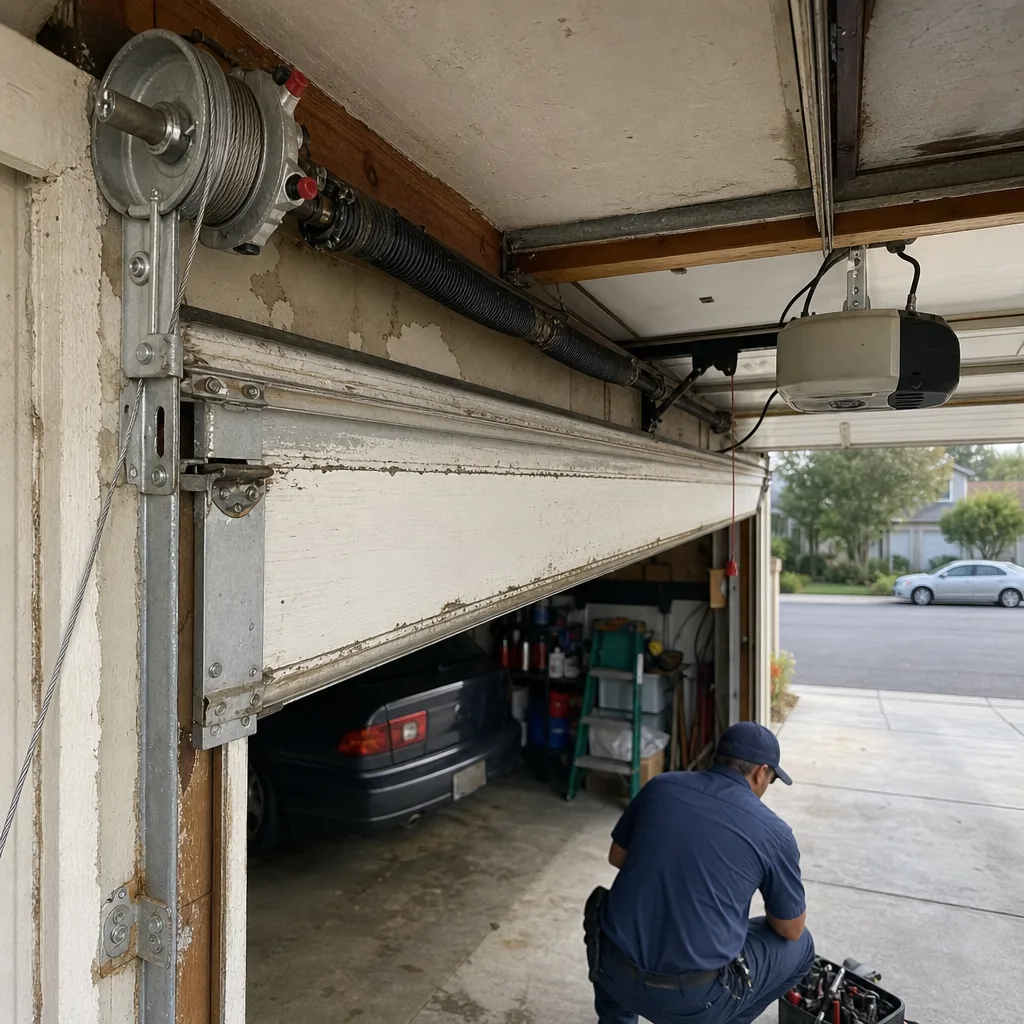 Before
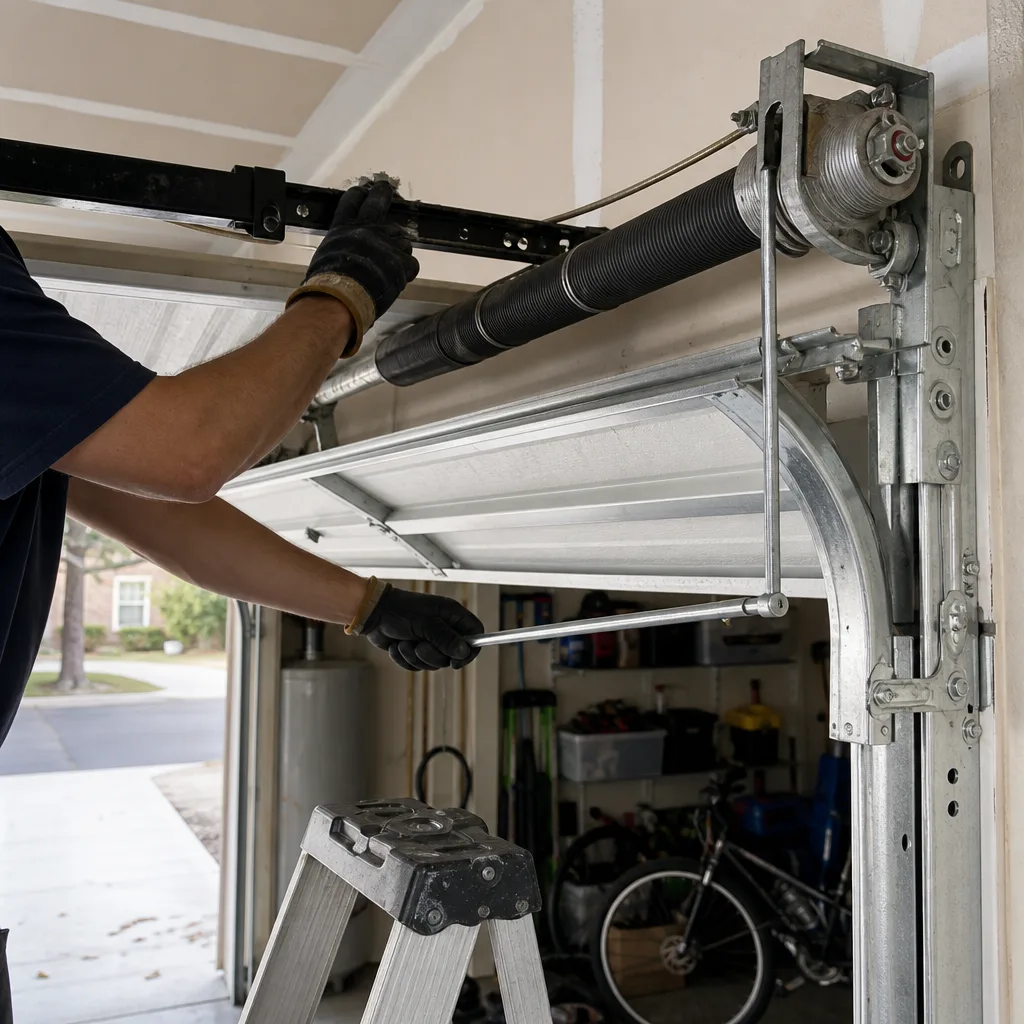 After
After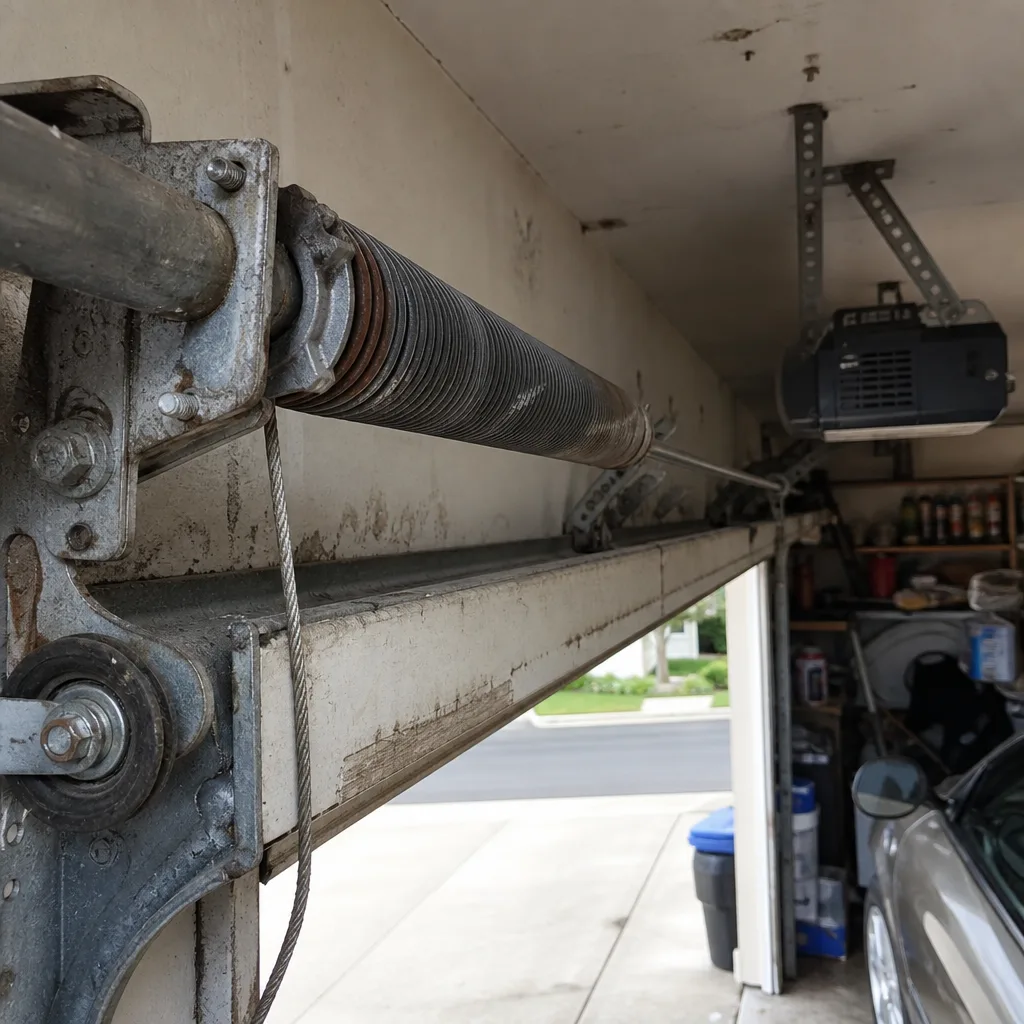 Before
 After
After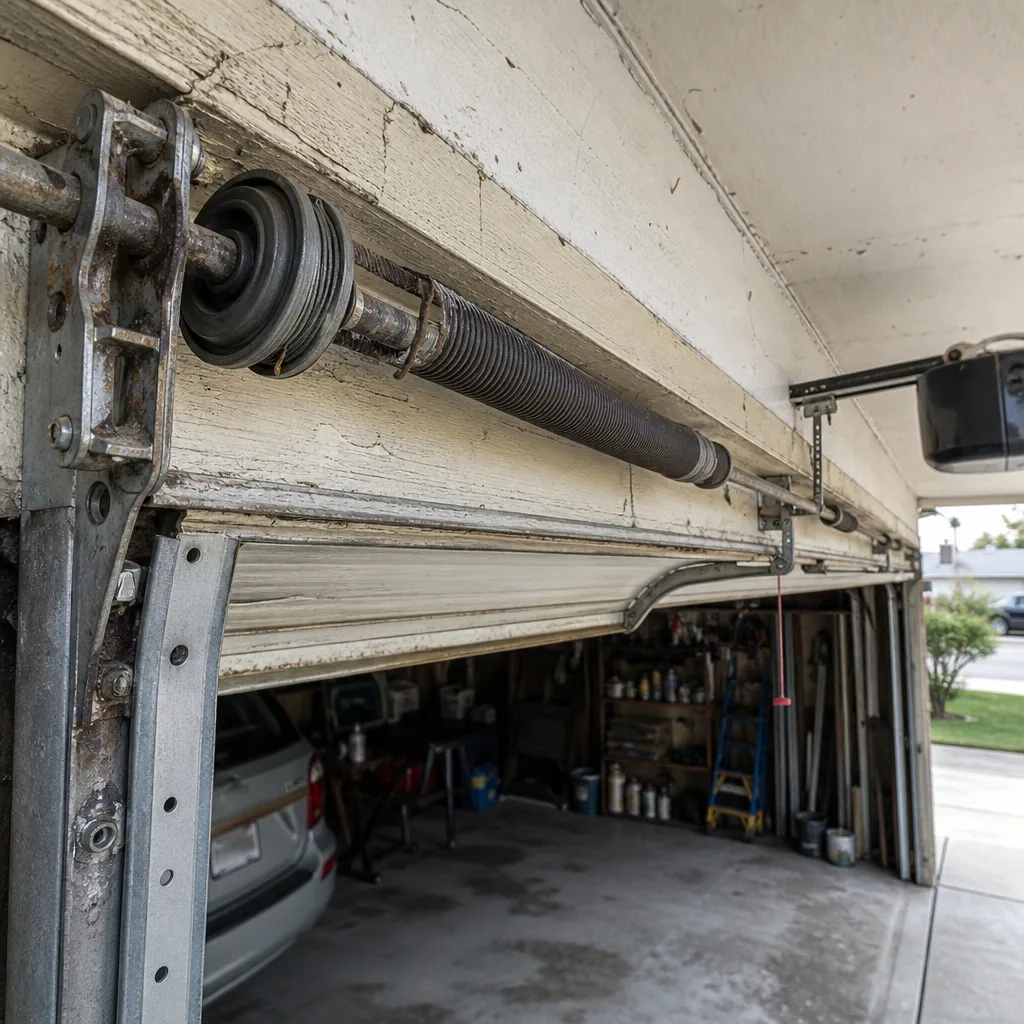 Before
 After
AfterGarage Door Repair Maintenance Checklist for Spring Valley Homeowners
The number-one reason garage door springs fail early in inland San Diego County isn’t age. It’s mineral-laden air combined with skipped lubrication cycles that corrode the coil from the inside out, a problem you can prevent in under ten minutes twice a year. In Spring Valley, where summer temperatures regularly climb past 90 degrees and Santa Ana winds carry alkaline dust through the Jamacha and Sweetwater valleys, garage doors take a beating that coastal homeowners simply don’t face. This checklist is built from what we’ve actually seen fail on Spring Valley homes over four decades, not a generic national template copied from a hardware store pamphlet. You’ll learn which maintenance tasks protect your door in dry-heat conditions, which ones require a trained technician, and how to spot the warning signs that precede a costly emergency call by weeks.
Quick Answer
Spring Valley homeowners should inspect and lubricate their garage door system twice yearly, in late October before the Santa Ana season and in late March before summer heat sets in. Key tasks include checking spring coils for rust streaks and gaps, testing auto-reverse safety features, clearing track debris, and replacing weather seals before November monsoon runoff. Never attempt to adjust or remove torsion springs yourself; the stored tension can cause serious injury. For safe, professional help, see our Garage Door Repair service.
Table of Contents
- What to Lubricate (and What Never to Use)
- Reading Your Springs for Fatigue Without Touching Them
- Safety System Tests That Take Two Minutes
- Bottom Seals and Spring Valley’s Monsoon Season
- Track Alignment Check With a Level and Straight Edge
- Opener Maintenance: Chain, Belt, and Screw Drive
- What You Can Safely Do vs. What Voids Your Warranty
- A Seasonal Schedule That Matches Spring Valley’s Climate
What to Lubricate (and What Never to Use)
Walk into any hardware store in Spring Valley and you’ll find WD-40 prominently displayed near the garage accessories. Here’s the problem: WD-40 is a solvent and water displacer, not a lubricant. In our dry climate, it evaporates within days and leaves a gummy residue that traps alkaline dust against moving parts. We’ve replaced more than a few rollers and hinges in Casa de Oro and La Presa that were “maintained” with WD-40 until they ground themselves flat.
The right product for each component matters. Here’s what belongs in your garage:
- Torsion springs: White lithium grease or a dedicated garage door spring lubricant. Apply a thin film across the entire coil, not just the ends. The goal is to prevent the micro-corrosion that starts between windings where Spring Valley’s mineral-rich air settles.
- Roller bearings (steel rollers): Light machine oil, applied to the bearing itself. Nylon rollers need no lubrication; the nylon is self-lubricating and oil attracts dirt.
- Hinge pins: White lithium grease. Work the door up and down several times after application to distribute it.
- Chain or screw drive opener: Manufacturer-specified lubricant. For LiftMaster chain drives, use their proprietary chain lubricant or a high-quality bicycle chain lube. Never use standard grease; it flings off and stains vehicles.
- Belt drives (Chamberlain, Genie): No lubrication needed. Wipe clean only.
The application technique matters as much as the product. With the door closed, spray or brush lubricant along the full length of the spring coil. Open and close the door twice to work the lubricant between windings. Wipe excess from all surfaces; pooled lubricant collects dust that accelerates wear. The entire job takes under ten minutes.
For homeowners in the hills above Sweetwater Road where wind exposure is highest, we recommend adding a third lubrication cycle in mid-June, after the first sustained Santa Ana event. The alkaline coating that builds on exposed hardware in those neighborhoods accelerates corrosion by roughly 30 percent compared to more sheltered areas near Bancroft Drive.
Reading Your Springs for Fatigue Without Touching Them
Torsion springs carry the full weight of your garage door. A standard 16-foot wide door in Spring Valley weighs between 150 and 250 pounds, and that load never changes; the spring does the lifting so your opener doesn’t burn out in three years. When a spring breaks, the door becomes dead weight, often slamming shut if it was open. The dangerous part is that springs rarely fail without warning. They announce themselves for weeks if you know what to look for.
Never touch a torsion spring to test it. The wound steel stores enough kinetic energy to cause severe laceration or amputation. Visual inspection from a safe distance is sufficient and, in our experience, more reliable than the amateur “lift test” that circulates online.
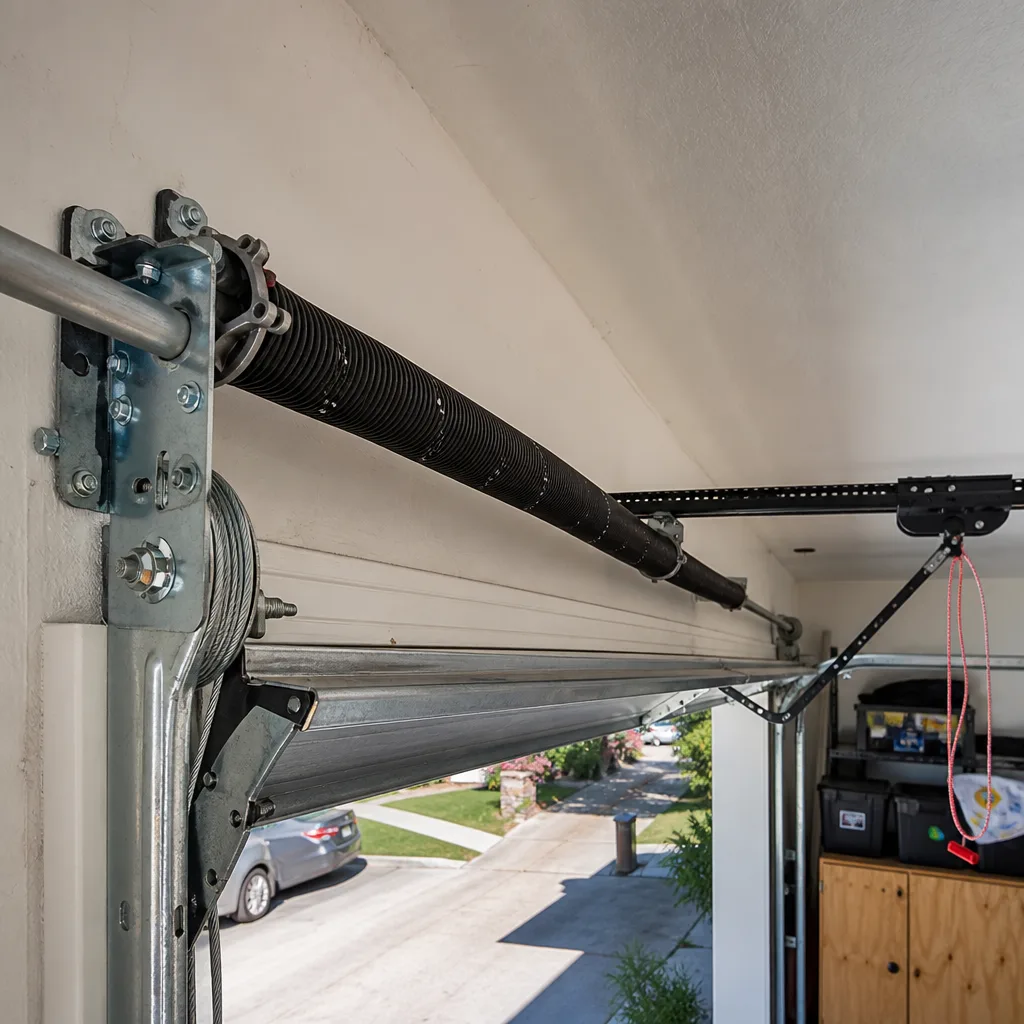
- Check for coil gaps. A healthy torsion spring has coils that sit tight against each other when the door is down. Look for daylight between coils, especially near the center of the spring. Even a 1/8-inch gap indicates the spring has stretched and lost significant tension. We’ve replaced springs in Spring Valley homes where the gap measured three-quarters of an inch; the homeowner had noticed it for months but assumed it was normal.
- Look for rust streaks. Orange or brown discoloration running along the coil, particularly where windings touch, means corrosion is eating the steel from the inside. Spring Valley’s combination of low humidity and high mineral content in airborne dust creates a unique corrosion pattern: the steel doesn’t rust uniformly but pits locally where dust particles embed. These pits become stress concentrators that snap without warning.
- Listen for the telltale pop. A fatiguing spring often makes a sharp popping or creaking sound during the first foot of travel, when tension change is greatest. If your door “talks” on the way up, the spring is speaking. We’ve found that homeowners in the older neighborhoods near Spring Valley High School, where many garages date to the 1970s and 1980s, report this symptom more frequently; the original springs simply reached their cycle limit.
- Count the cycles if you know them. A standard torsion spring is rated for 10,000 cycles (one open/close). If you use your garage as the primary home entrance, as many Spring Valley residents do, you may hit that in 5-7 years. High-cycle springs rated for 25,000 or 50,000 cycles are available and, in our view, worth the additional cost for active households.
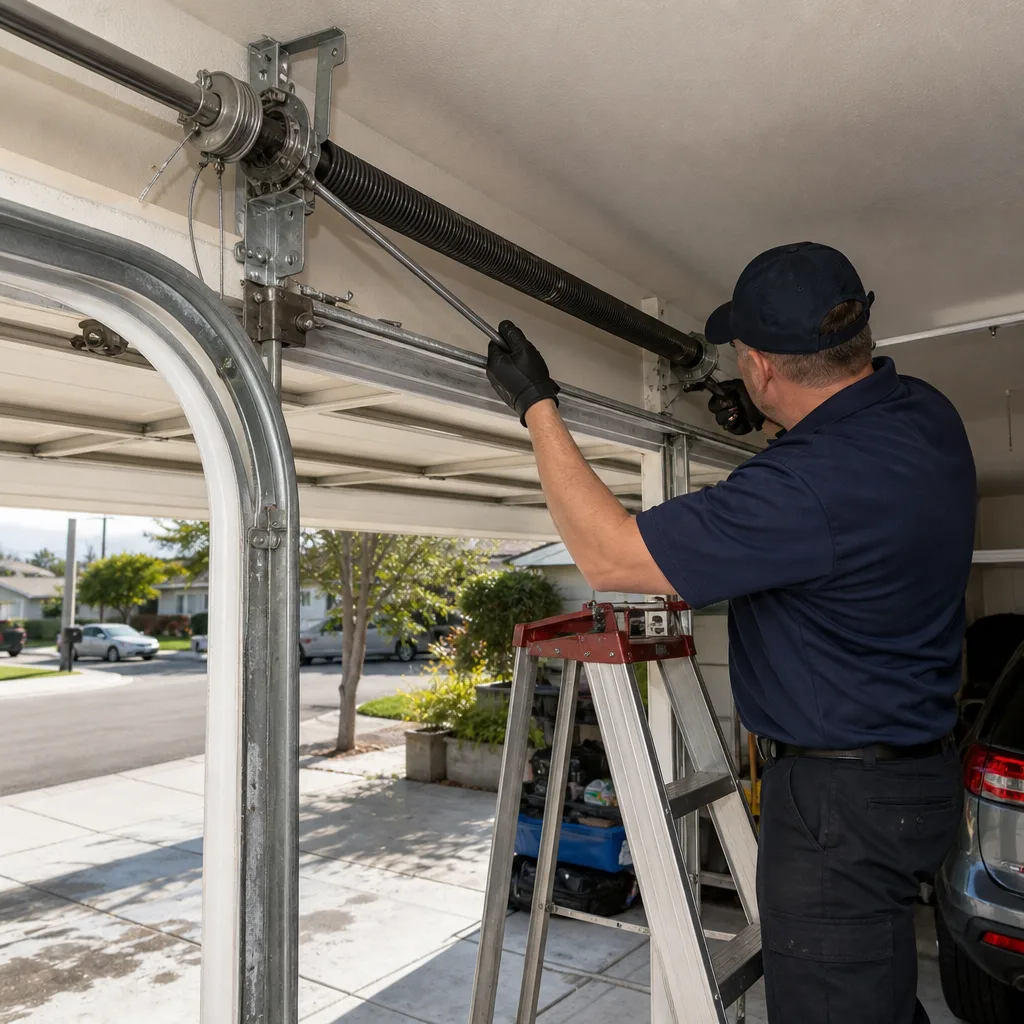
If you observe any of these signs, call a professional. Spring replacement requires winding bars, solid anchoring, and knowledge of how to release stored energy safely. The garage door repair services we provide in Spring Valley include spring inspection and replacement, and we carry the full range of spring sizes on our trucks for same-day completion.
Safety System Tests That Take Two Minutes
Every automatic garage door installed after 1993 must include two safety features by federal law: mechanical auto-reverse and photoelectric eyes. These systems save fingers, prevent pet injuries, and stop doors from crushing objects in their path. They also fail silently, which is why testing them belongs on every maintenance checklist.
The mechanical auto-reverse test is simple. With the door fully open, place a 2×4 board flat on the floor centered under the door. Close the door using the remote or wall button. When the door contacts the board, it must reverse within two seconds. If it stops on the board or reverses sluggishly, the down-force limit needs adjustment. This is not a homeowner task; the adjustment controls are on the opener motor unit and improper settings create either a crushing hazard or a door that reverses on every slight breeze.
The photoelectric eye test requires only your leg. Start the door closing, then sweep your leg through the beam between the two sensors mounted 4-6 inches above the floor. The door must reverse immediately. If it continues, check that both sensor LEDs are lit; one may be knocked out of alignment by a garbage bin or bicycle. Clean the lenses with a soft cloth; Spring Valley’s dust accumulation can obscure the beam enough to cause intermittent failure without fully breaking it.
Test the wall-mounted emergency release as well. Pull the red handle to disengage the opener trolley, then lift the door manually. It should move smoothly and stay open at waist height without drifting down. If it feels heavy or won’t stay put, the spring system needs attention before the opener fails from overwork.
After any safety system test, re-engage the emergency release by pulling the handle toward the opener motor until the trolley clicks back into position. Run the door through a complete cycle to confirm normal operation.
Bottom Seals and Spring Valley’s Monsoon Season
Most maintenance checklists tell you to “check weather seals annually.” That’s useless advice in Spring Valley, where the relevant event isn’t a calendar date but the pattern of winter storms that sweep through from November through March, often dropping significant rain in short bursts that overwhelm drainage systems.
The bottom seal on your garage door is the primary barrier against water intrusion, rodent entry, and the fine dust that blows through the Jamacha Valley during Santa Ana events. A compromised seal channels water directly onto your garage floor, and in Spring Valley’s clay-heavy soils, that water can wick through foundation cracks that homeowners never knew existed. We’ve seen water damage in garages near Dictionary Hill where the seal appeared intact but had compressed to a thin ribbon that no longer contacted the uneven concrete apron.
Inspect your bottom seal in late October, before the first major storm system arrives. Look for:
- Compression set: The seal should maintain its original profile. If it’s flattened to less than half its original height, it no longer seals against irregularities in the floor.
- Cracking or splitting: UV exposure in our high-sun climate degrades rubber and vinyl compounds faster than in milder regions. Cracks perpendicular to the door width are normal aging; cracks running lengthwise indicate the material is failing structurally.
- Hardness: A fresh seal is pliable and springs back when compressed. If yours feels rigid or crumbles when pinched, it’s past replacement.
- Gap at the floor: Close the door and look for daylight from inside. Any visible gap is a failure, period.
Replacement is straightforward for most homeowners. Unplug the opener, raise the door to about chest height, and pull the old seal from the retainer channel. Clean the channel of debris, then feed the new seal from one end, working it into the track. For single-channel retainers common on older Raynor and Wayne Dalton doors in Spring Valley, a flat screwdriver helps seat the seal’s T-shaped edge. Retractable doors with complex track geometry may require professional adjustment after seal replacement to maintain proper closing pressure.
While you’re at work on the seal, check the side and top weatherstripping as well. These flexible vinyl or rubber strips seal the door perimeter against the frame. In Spring Valley’s heat, they often adhere to the door face and tear away on opening. A light application of silicone spray on the contact surface prevents this.
Track Alignment Check With a Level and Straight Edge
Garage door tracks are precision components. The vertical sections must be perfectly plumb, and the horizontal sections must slope slightly back toward the opener to prevent the door from running away under its own weight. Even a quarter-inch of misalignment creates binding, roller wear, and eventually opener failure.
This check requires only a 4-foot level and a straight piece of lumber or metal at least as long as your door is wide. Here’s how to do it safely:
- Disconnect the opener. Pull the emergency release handle so the door moves freely.
- Check vertical track plumb. Hold the level against each vertical track at three points: near the floor, at mid-height, and just below the curve to horizontal. The bubble should read plumb at all points. If not, the track mounting brackets have loosened or the jamb has settled. Do not attempt to loosen track bolts and “tweak” the alignment; the bracket spacing and fastener torque are critical to safe operation. Note the location and call for adjustment.
- Check horizontal track level. Place your straight edge across both horizontal tracks near where they meet the vertical curve. The tracks should be at identical height. A difference of even 1/8 inch causes the door to rack and bind. This condition often develops in Spring Valley homes built on cut-and-fill lots, where seasonal soil movement shifts the header framing.
- Inspect track spacing. The distance between tracks must match the door width plus roller clearance, typically 1/2 to 3/4 inch total. Use a tape measure at the top, middle, and bottom of the vertical section. Widening at any point indicates bracket failure or wall anchor pullout.
- Look for dents and creases. Any deformation in the track channel will cause roller jumping and eventual derailment. Common causes in Spring Valley: ladder strikes, basketball impacts, and vehicles bumped while parking. Even small dents propagate stress cracks over time.
If you find misalignment, track damage, or loose anchors, professional correction is warranted. Track work involves working around loaded springs and overhead loads. Our installation and repair team in Spring Valley realigns tracks as part of standard service calls, and we carry replacement track sections for all major brands.
Opener Maintenance: Chain, Belt, and Screw Drive
The opener is the brain and muscle that moves your door, but it’s also the component most likely to fail from neglect because it “works fine” until it doesn’t. Different drive types need different attention.
Chain drives (common on older LiftMaster and Chamberlain units, still popular for heavy doors): The chain should sag 1/2 to 3/4 inch at its midpoint when the door is closed. More sag causes jerky operation and premature sprocket wear; too tight overloads the motor. Chain tension adjustment is accessible on the opener rail, but the procedure varies by model and incorrect adjustment strips gears or burns out the motor. We recommend noting the condition and having it addressed during professional service unless you’re experienced with mechanical adjustments.
Lubricate the chain with manufacturer-specified product every two years, or annually if the garage is unconditioned and sees temperature swings. Wipe the rail clean before lubricating; accumulated grit acts as grinding compound.
Belt drives (standard on premium Chamberlain and Genie models): These require essentially no maintenance beyond keeping the belt clean and checking for fraying or cracking. The Kevlar-reinforced belts used in modern units are highly durable but not immortal. Look for separation of the reinforcement from the rubber coating, particularly at the drive sprocket where flexing is greatest. Belt replacement is a straightforward service call.
Screw drives (Genie’s traditional design, less common now): The threaded steel rod needs annual lubrication with low-temperature grease. Spring Valley’s temperature range, from occasional frost to 105-degree days, is actually harder on screw drive lubrication than consistently cold or hot climates; the grease must perform across a 70-degree spread. Genie provides specific lubricant, and using general-purpose grease leads to hardening and drive chatter.
For all opener types, test the force settings annually. The door should stop and reverse when it meets resistance, not power through it. Modern openers with electronic force sensing (LiftMaster’s MyQ-enabled units, for example) self-adjust to some degree but still benefit from verification. If your opener lacks force adjustment pots and relies solely on electronic sensing, any failure to reverse properly indicates a control board issue requiring replacement.
Finally, check the opener mounting. The header bracket must be solidly anchored to structural framing, not just drywall or trim. In Spring Valley’s older homes with 2×4 garage headers, we’ve seen the entire opener assembly pull away from the wall after years of vibration. The repair involves installing a proper header board across multiple studs; this is not cosmetic work.
What You Can Safely Do vs. What Voids Your Warranty
This distinction matters because well-intentioned maintenance can become expensive if it invalidates coverage. Most garage door warranties, and virtually all opener warranties from major brands, have specific exclusions for homeowner-performed work.
Tasks you can safely perform without risk:
- Lubrication of springs, hinges, and rollers with appropriate products
- Weather seal inspection and replacement
- Safety system testing (auto-reverse, photoelectric eyes, emergency release)
- Visual inspection of all components for damage or wear
- Cleaning of track interiors with a dry cloth or brush
- Photoelectric eye cleaning and realignment (if knocked loose)
Tasks that void most warranties if done incorrectly:
- Spring adjustment or replacement: This is the big one. Clopay, Amarr, Wayne Dalton, and Raynor all exclude spring-related damage from warranty coverage if the springs were adjusted, wound, or replaced by anyone other than an authorized technician. The language is explicit: “Damage resulting from improper spring tension” is excluded. Given that incorrect spring tension also damages sections, hinges, and openers, a single error can create thousands in uncovered repairs.
- Track modification: Cutting, bending, or drilling tracks voids the door warranty and creates safety hazards. We’ve encountered homeowners who “widened” a track with a hammer to accommodate a larger roller; the door derailed within weeks.
- Opener force limit adjustment: Chamberlain and LiftMaster warranties exclude opener damage caused by incorrect force settings. The adjustment procedure requires a calibrated approach that most homeowners don’t follow precisely.
- Panel or section replacement: While technically possible for a handy homeowner, improper section alignment stresses the entire system and voids the door warranty. The interlocking tongue-and-groove joints on modern steel doors are tolerance-critical.
The practical rule: if the task requires a tool you don’t already own for routine home maintenance, or if the component stores significant energy (springs) or supports overhead weight (tracks, cables), it’s professional territory. The money saved by DIY spring work is dwarfed by the cost of a single emergency room visit, and that’s before warranty implications. For guidance on finding qualified help, read our How to Hire a Garage Door Contractor in Spring Valley: A Step-by-Step Guide.
Our position at Mainspring Garage Door Co. is straightforward: we’ll teach you everything you can safely do yourself, and we’ll never charge for work you don’t need. The opener services we offer in Spring Valley include warranty-preserving maintenance that documents your compliance with manufacturer requirements.
A Seasonal Schedule That Matches Spring Valley’s Climate
Generic checklists say “spring and fall.” In Spring Valley, the relevant seasons are pre-Santa Ana and pre-monsoon, with a mid-summer check for exposed locations.
| Timing | Focus | Why This Date |
|---|---|---|
| Late October | Full inspection, lubrication, seal replacement if needed | Before Santa Ana winds and first winter storms; seals must be intact before monsoon runoff |
| Late March | Lubrication, spring visual check, safety system test | Before summer heat accelerates grease breakdown and thermal expansion stresses components |
| Mid-June (if exposed) | Touch-up lubrication, debris clearing | After initial Santa Ana event; homes on hillsides or facing west into the valley need this |
The late October service is the most comprehensive. Address everything before the weather turns: worn seals, fatigued springs, opener irregularities, track alignment. A door that fails in November does so during the busiest season for emergency calls, when wait times extend and you’re parking outside in the rain.
The March service is lighter but no less important. Summer heat in Spring Valley’s inland location degrades lubricants faster than the mild temperatures suggest; thermal cycling from 60-degree mornings to 95-degree afternoons breaks down grease compounds. Fresh lubrication in March carries the door through the worst heat.
For homeowners in specific Spring Valley neighborhoods, adjust based on exposure:
- Casa de Oro, elevated areas: Add the June touch-up; wind exposure is highest here.
- La Presa, near Sweetwater Reservoir: Monitor seals more closely; the higher humidity microclimate accelerates rubber degradation.
- Older homes near Spring Valley High School: Budget for spring replacement around year 6-8 if the door sees heavy use; original equipment in these homes is often at end of design life.
Common Mistakes to Avoid
- Using WD-40 on springs or rollers. It displaces water briefly, then evaporates and leaves a sticky film that traps alkaline dust. We’ve replaced components in Spring Valley that were destroyed by years of WD-40 “maintenance.”
- Ignoring the gap between seal and floor. A visible gap means water, dust, and rodents enter freely. Spring Valley’s winter storms can deposit inches of water against a failed seal in a single event.
- Testing auto-reverse with a hand instead of a board. The federal test specification calls for a 2×4 specifically because it simulates a rigid obstruction. A soft hand can trigger reverse at incorrect force settings, giving false confidence.
- Assuming a quiet door is a healthy door. Some failures are silent. A spring can lose significant tension without noise, and a misaligned track may cause no sound until the roller jumps. Visual inspection catches what ears miss.
- Skipping maintenance because the door is “new.” Warranty terms on Clopay, Amarr, and Wayne Dalton doors require documented annual maintenance. Skip it, and a legitimate warranty claim gets denied.
- Attempting spring work after watching a video. The videos never show the accidents. Torsion springs store enough energy to maim or kill. In 42 years, we’ve seen the aftermath. It’s not worth it.
When to Call a Professional
Call when you see rust streaks on springs, gaps between coils, track misalignment, or any door that feels heavy to lift manually. Call when the opener reverses intermittently, the chain sags excessively, or safety systems fail testing. Call after any impact damage from vehicles, ladders, or wind-borne debris.
Most importantly, call before the failure becomes an emergency. A spring that shows fatigue signs in October will likely break in January, when you’re least prepared to deal with it. Mainspring Garage Door Co. offers free estimates in Spring Valley - call (619) 825-2139. We’ll inspect your system, quote the flat price before any work begins, and complete most repairs in a single visit because our trucks carry the parts. If it’s not done right, we come back. That’s been our promise since 1984.
Frequently Asked Questions
Twice yearly: a full service in late October before Santa Ana winds and winter storms, and a lighter lubrication and inspection in late March before summer heat. Homes on exposed hillsides should add a mid-June touch-up. Call (619) 825-2139 to schedule our $89 Seasonal Tune-Up.
No. WD-40 is a solvent, not a lubricant, and evaporates within days in Spring Valley’s dry climate. It leaves a residue that traps alkaline dust and accelerates corrosion. Use white lithium grease or dedicated garage door spring lubricant instead.
Look for daylight between coils when the door is down, rust streaks running along the spring, or a popping sound during the first foot of travel. These signs typically appear weeks before failure. Never touch the spring to test it; the stored tension is dangerous. Call (619) 825-2139 for a professional inspection.
Routine tasks like lubrication, seal replacement, and safety testing do not void warranties. However, spring adjustment, track modification, and incorrect opener force settings void coverage from major manufacturers including Clopay, Amarr, Wayne Dalton, LiftMaster, and Chamberlain. When in doubt, professional service preserves your protection.
First, check if the photoelectric eyes are obscured by water, debris, or condensation on the lenses. Dry and clean them. If the door still won’t close, pull the emergency release and operate manually. Never disconnect or bypass safety systems. For emergency service in Spring Valley, call (619) 825-2139; our phones are answered by a live person 24/7.
Our Seasonal Tune-Up is $89 and includes full inspection, lubrication of all points, safety system testing, and written condition report. Repairs, if needed, are quoted upfront before any work begins. Seniors and veterans receive a permanent 5% discount. Call (619) 825-2139 for an exact quote.
The Bottom Line
Garage door maintenance in Spring Valley is not about following a generic checklist. It’s about understanding how dry heat, mineral-laden air, and seasonal storm patterns affect the specific components in your system. Lubricate with the right products twice yearly. Read your springs visually without touching them. Test safety systems in two minutes. Replace seals before winter storms. Leave spring, track, and opener force work to trained technicians who preserve your warranty and your safety. Do these things, and your garage door will operate reliably for years. Skip them, and you’ll likely meet us in an emergency, which is a square deal for no one.
Written by Carl Dutton, Owner at Mainspring Garage Door Co., serving Spring Valley since 2016.